fbpx

HOW TO DE-WINTERIZE YOUR HOME

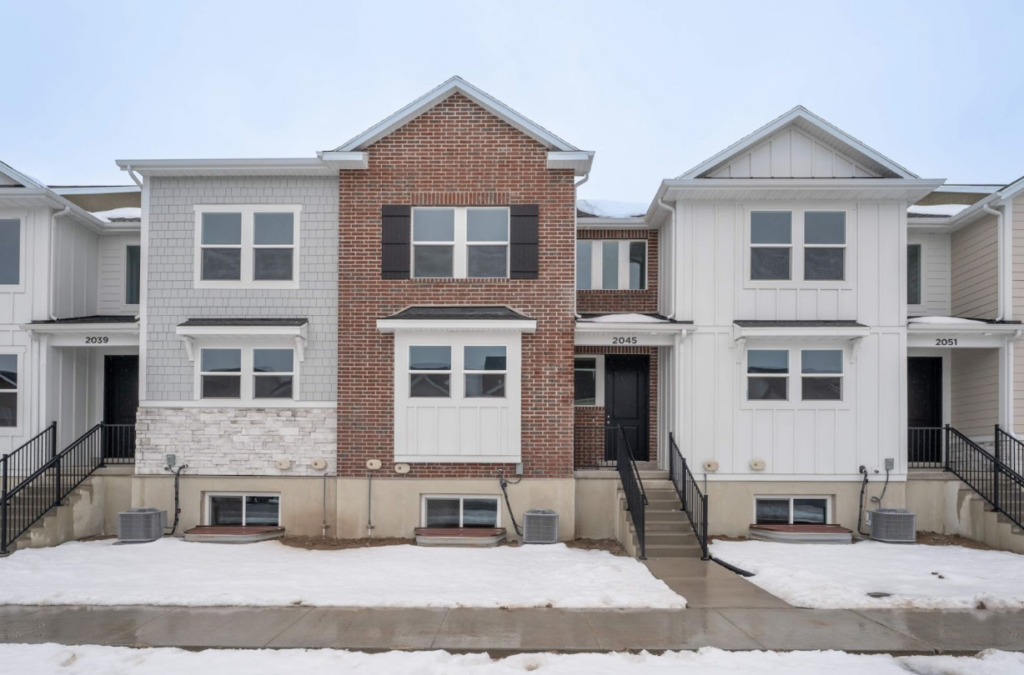
Melting snow in front of winterized homes in Utah

Whether we’re expecting six more weeks of winter or an early spring, it’s about time to start thinking about de-winterizing homes. If you’ve never had to de-winterize a house before—perhaps you’re new to Utah, new to winterizing, or are returning after a while away—it’s important to remember that de-winterizing your home is just as important as winterizing it in the first place.

While the process is simple—just reverse everything you did to winterize it—it shouldn’t be rushed or taken lightly. There are a few things to keep in mind to ensure you’ve de-winterized your home safely and haven’t caused any damage. Hey, maybe you weren’t the one to do it all in the first place!

In any case, here’s our comprehensive guide on how to de-winterize a house.

WINTERIZED HOME CHECKLIST

The following are typical winterizing must-dos so you can refer to them easily:

  • Shutting off water
  • Draining pipes
  • Disconnecting flexible tubes (found with sinks, toilets, dishwashers, washing machines, and other appliances that hook up to plumbing)
  • Unplugging appliances and electronics
  • Programming thermostats, alarm systems, and security cameras (if applicable)
  • Draining water heaters and water softeners and disconnecting related pipes (if applicable)

In general, the goal of winterizing is to prevent water freezing, pipes bursting, plumbing leaks, lower energy costs, and prepare a house for vacancy during potentially extreme, cold weather. As an extra precaution, some homeowners put a bit of antifreeze in toilets, sinks, tubs, and tanks.

So, now that you know the basics of winterized homes in Utah, you can properly set out to de-winterize your home.
HOW TO DE-WINTERIZE A HOUSE: WATER

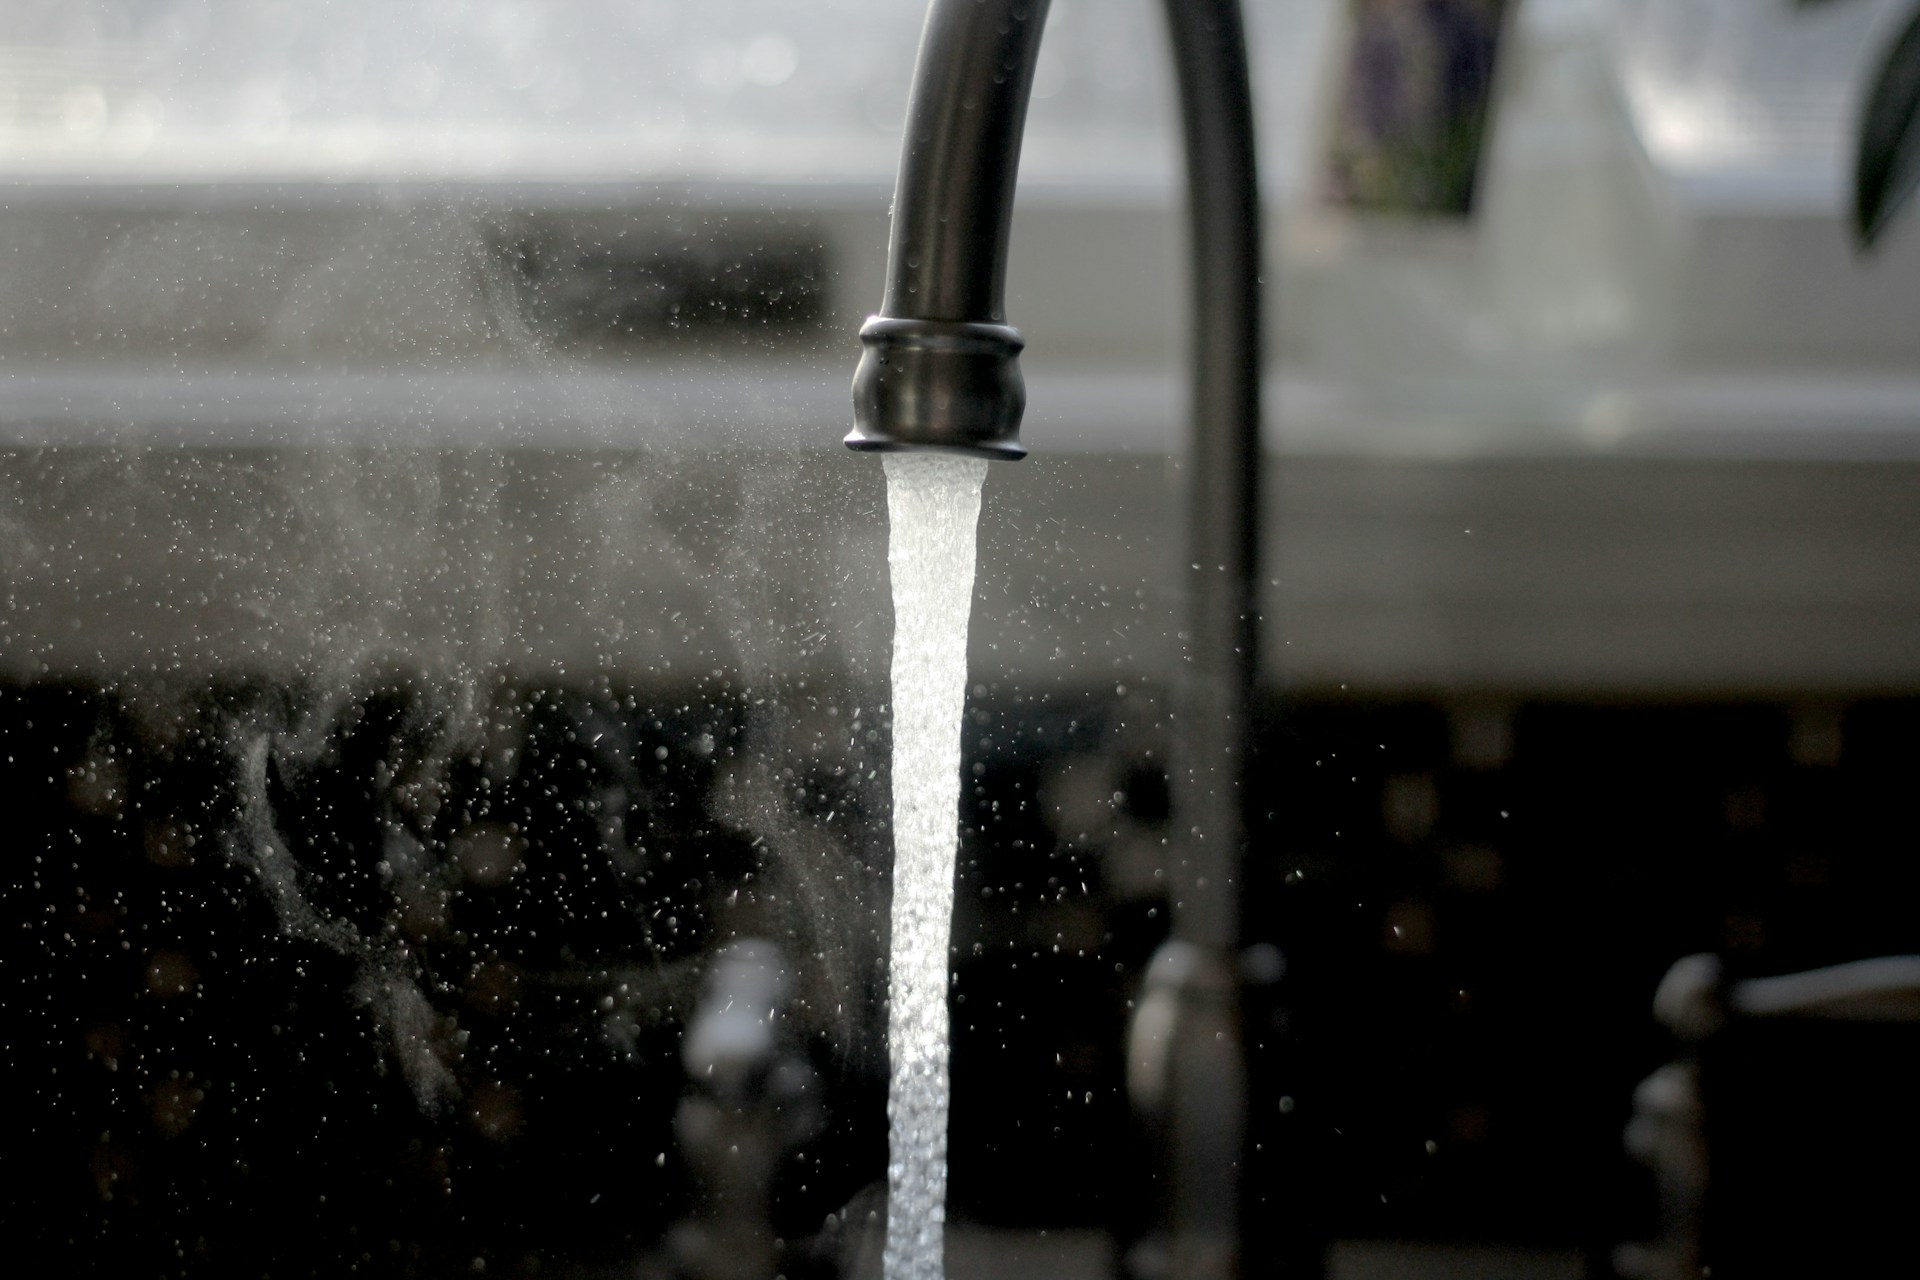
A faucet running hot water after de-winterizing a home

Note: this process will take anywhere from 30 minutes to a little over an hour depending on your skill level and task familiarity.
  1. First, gather any owners’ manuals for any applicable appliances. If you’ve gotten rid of or misplaced the physical copies, most can be found on the manufacturer’s website
  2. Now remember, your water supply should be turned on gradually to avoid overwhelming your pipes and plumbing, but before you switch those valves on, start by removing aerators and reconnecting the water supply. There will likely be buildup behind any spigot and faucet aerators, so be sure to let that clear out (Pro tip: now’s a great time to soak those aerators in vinegar to really start the season fresh!). Next, reconnect all flex tubes to their respective fixtures.
  3. Start turning the main water supply on gradually by giving the valve a slight turn. Give it a beat, then give it another slight turn and repeat until the valve is about halfway on. Then, move on to the water supply for water heaters, boilers, and softeners and follow any manufacturer reboot instructions.
  4. Now, start running all plumbing fixtures until the water comes out clear. That means all sinks, bathtubs, showers, toilets, exterior hoses, etc.
  5. Return to your main water supply and continue gradually opening the valve until it’s fully on.
  6. Do some interior and exterior water pressure checks. Low pressure can be a sign of a link, and it’s best to identify that before returning to live in your nearly de-winterized home.

HOW TO DE-WINTERIZE A HOUSE: GAS AND ELECTRIC

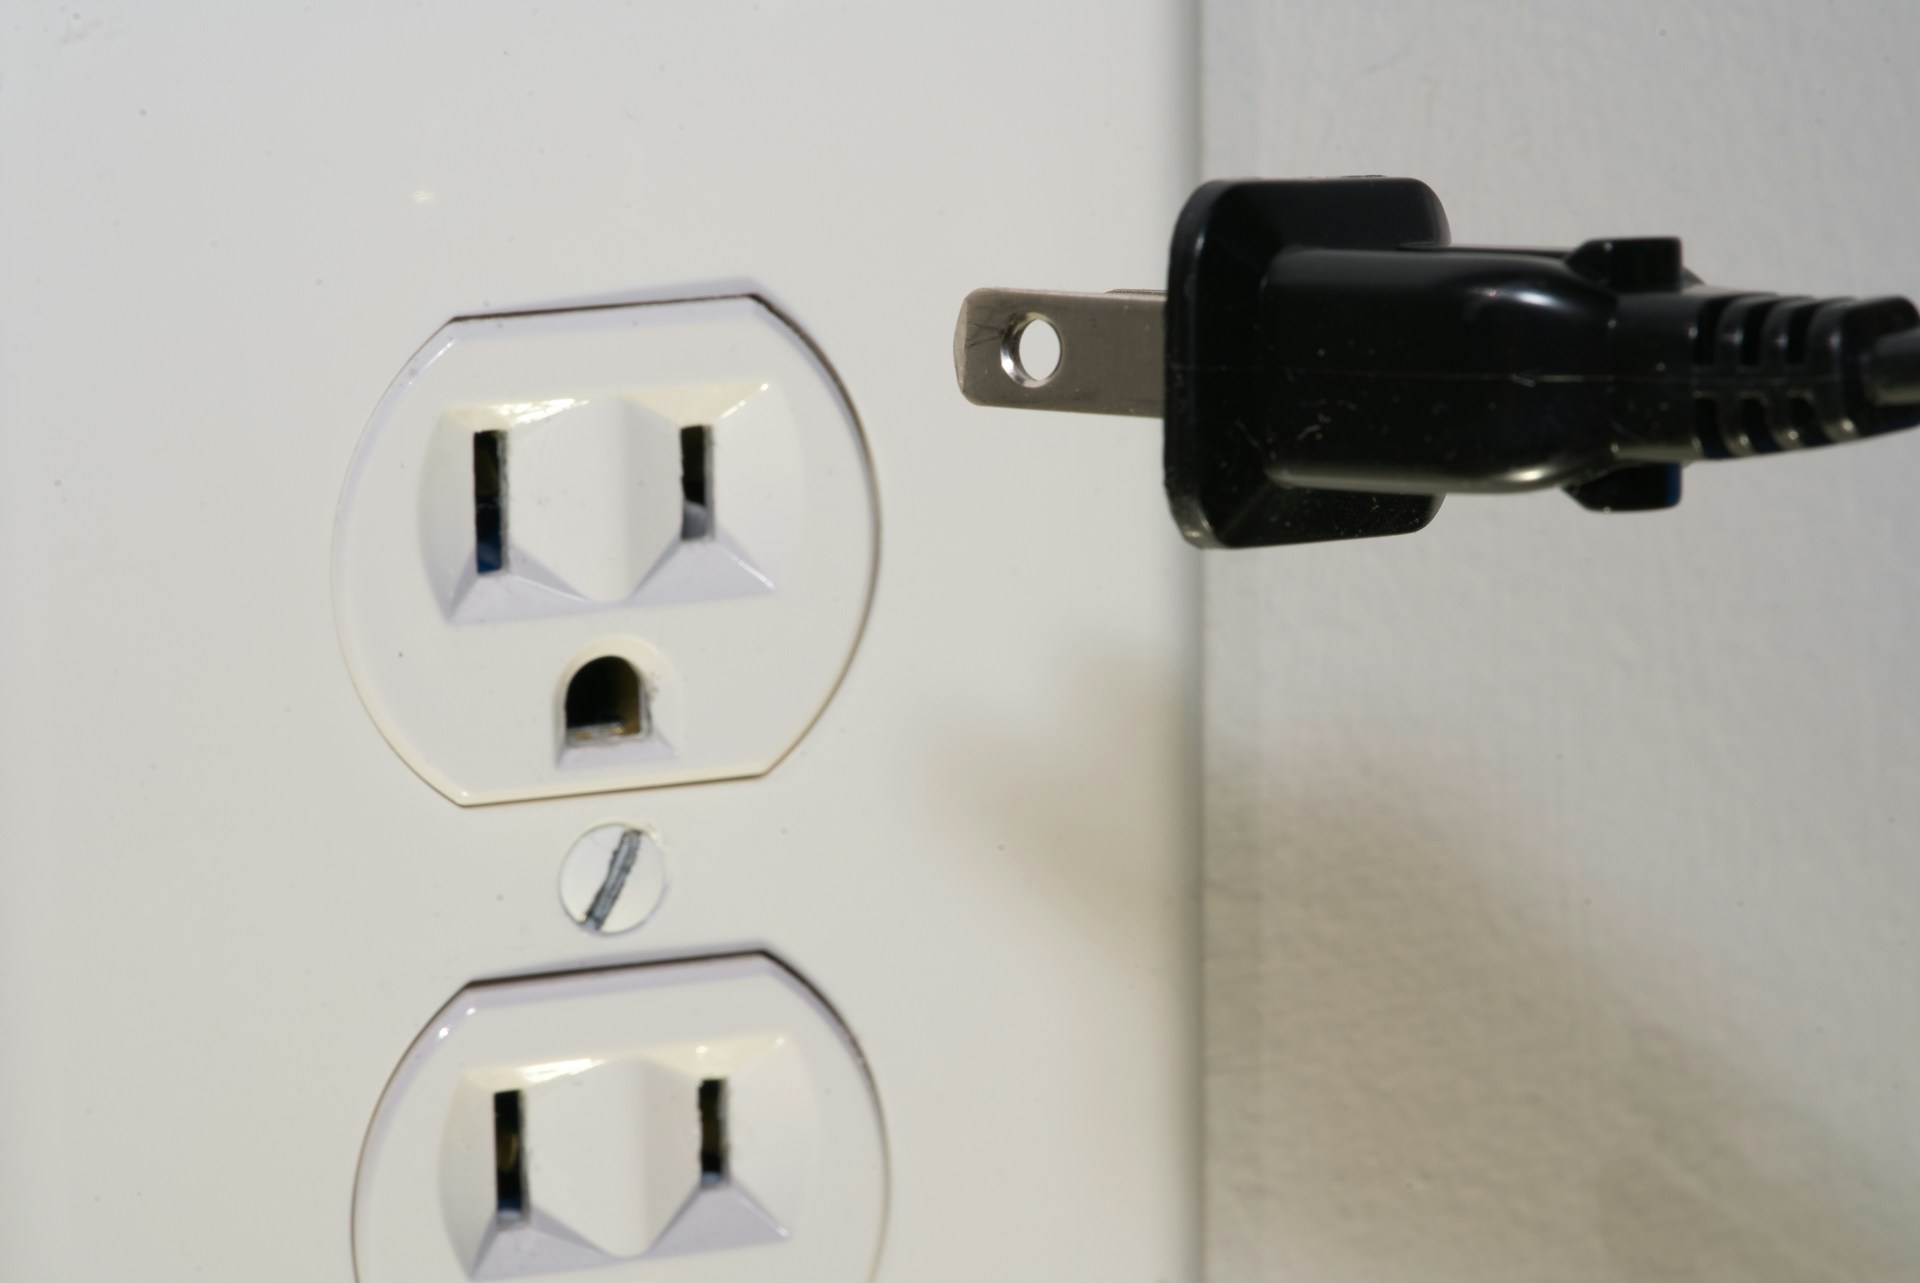
Someone about to plug an appliance in and test an electrical outlet after de-winterizing a home

  1. You’ve likely decided to keep only essential electrical circuits running while you’ve been away, which means individual circuits will need to be switched on, so start at your breaker box.
  2. Plug in any unplugged essential appliances and electronics—lamps, ovens, microwaves, refrigerators, stoves, TVs, computers, clocks—and test to make sure everything is working properly.
  3. Move on to the gas, which is advised to be turned off to prevent gas leaks while the property is vacant. Switch any applicable valves on—which can include the main valve as well as any individual, local fixtures. Check to make sure all are functioning properly.

HOW TO DE-WINTERIZE A HOUSE: FINAL STEPS

While you’re in the thick of de-winterizing your home, it’s the perfect time to check your roof and gutters and clean out any debris. You don’t want to have to deal with any clogs or flooding as snow melts and foliage blooms.

Remember to reprogram your thermostat and any timers or alarm systems—though you may have left alarms and security cameras operational for safety reasons. Reset your clocks, resume mail delivery if you had that halted, and with that, you’ve successfully de-winterized a house! You’re now ready to get back in and settled.

Same time next year? See you then!

SCHEDULE A VISIT

GET STARTED